The direct answer
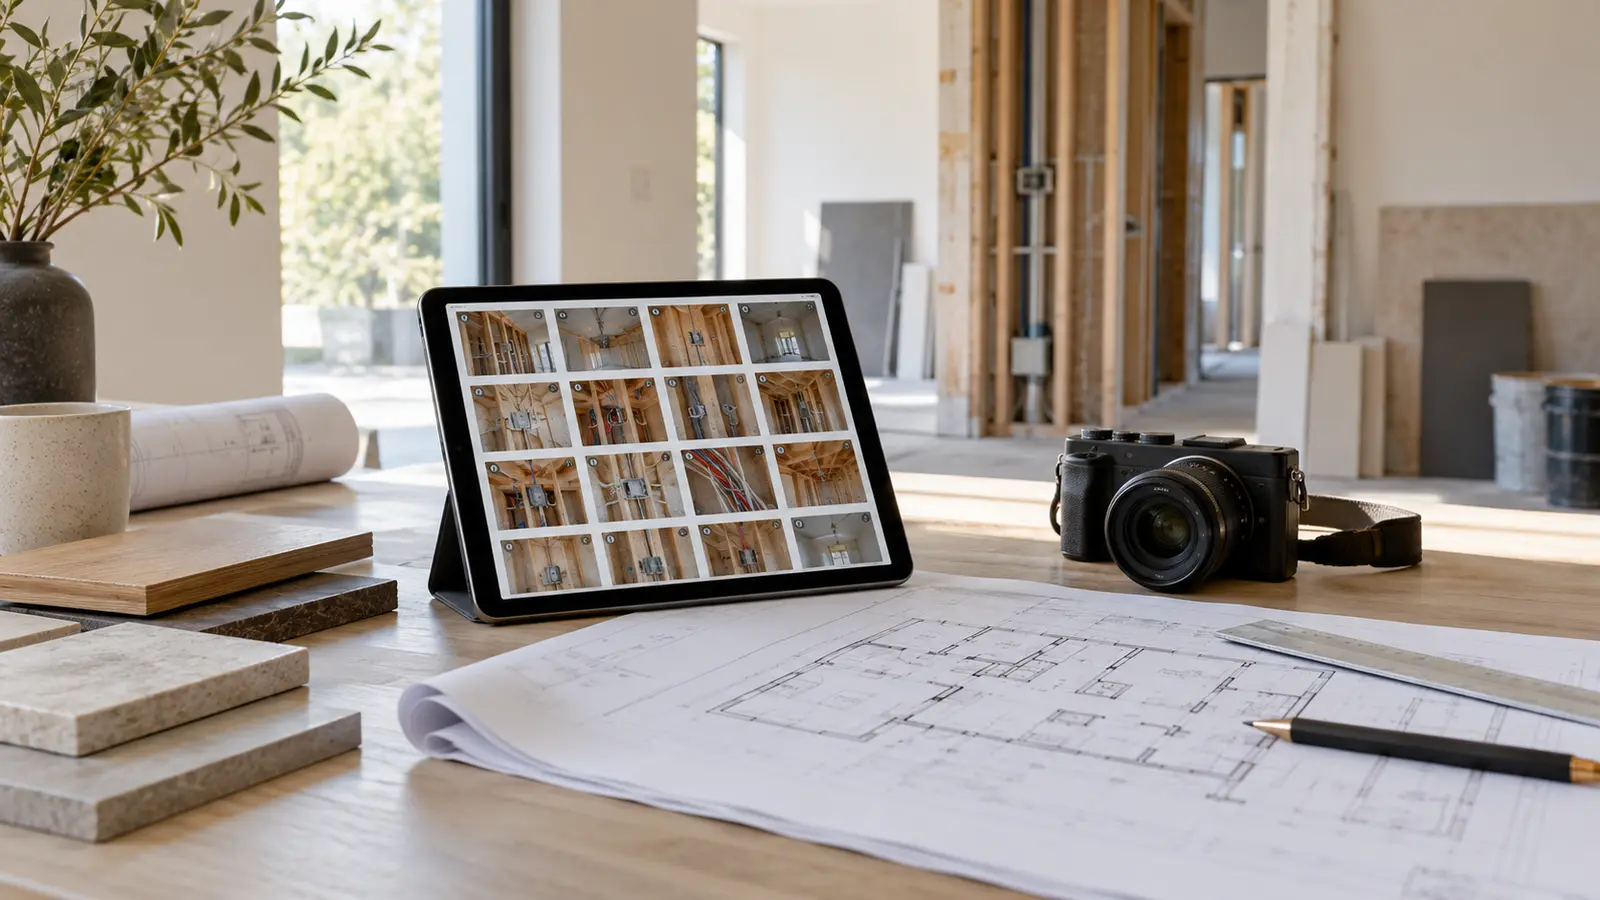
A useful photographic record should make a concealed element easy to locate, identify and interpret later. Before ceilings, wall linings, floor finishes or joinery hide the work, capture a wide view that establishes the room, a medium view that shows the element in context, and a close view of relevant details. Each image needs a durable reference: date, room or zone, element, orientation, drawing or specification issue, and the inspection or test record that applies. The purpose is not to create thousands of attractive site pictures. It is to answer practical future questions such as where a pipe turns, which cable route serves a fitting, what backing was installed for joinery, and what condition existed when the work was reviewed. Photography supports, but never replaces, competent inspection, testing or formal approval.
Start with decisions, not a camera roll
Write a short photographic-record schedule before strip-out or first fix. Divide it by work stage and risk: existing conditions before disturbance; retained elements; hidden services and supports; waterproofing or envelope details; completed preparation; and final room references. For each line, state the required views and the event that triggers capture. This prevents the common failure of receiving many images of visible progress but none of the decisive moment immediately before concealment. RIBA's Plan of Work describes construction quality inspections and quality reporting as matters to define at the outset. The same principle applies here: agree what evidence will be useful, who reviews it and when a room can be released. If an authority, consultant, building manager or product supplier requires particular evidence, record that requirement separately and follow its current process.
Use a repeatable three-view method
For every important concealed item, take three complementary views. The location view includes fixed room features, a doorway, grid line or another unmistakable landmark. The context view shows the complete run, junction or assembly. The detail view records the feature that may matter later, such as an access point, support, junction or identification label. Include a scale only when it is safe and meaningful, and never let the scale obscure the work. Photograph perpendicular to a flat surface where possible so routes and spacing are legible. Capture both ends of a run and any change of direction. Blurred, heavily compressed or screenshot-only files should be rejected. Keep original image files with their metadata; a messaging-app album is convenient for discussion but is not a dependable project archive.
Index images so someone else can find them
A record becomes useful through its index. Use a stable naming rule such as date, floor, room, element and sequence, while keeping human-readable captions in the register. Link each entry to the current drawing or specification issue rather than an obsolete markup. If a photo shows a departure from the design, flag the difference and reference the instruction or approval that resolved it; do not quietly treat the image as permission. Keep separate fields for status, reviewer and related test record. A simple room plan with numbered camera positions can help, but it should point to the files rather than becoming an invented technical diagram. Store the index and originals in a project location that will remain available after handover, with permissions and backups appropriate to the owner.
Planning example
Planning example: a three-bedroom home is approaching ceiling close-up. The project team creates a room-by-room release sheet. In the living room, required records include the full ceiling zone from two corners, each access location in relation to a wall, the route to a feature light, and the support prepared for a suspended fitting. The photographer places a removable room code in the first context image, then takes detail views without covering the work. The register links the set to the current reflected-ceiling drawing and the relevant test or inspection references. One area remains marked incomplete because an access position differs from the coordinated drawing. It is reviewed and documented before the ceiling is released. The example shows the real value of the process: the photographs support a controlled decision rather than merely recording that work happened.
A practical close-up checklist
Use the checklist as a quality gate rather than a retrospective filing exercise. The project lead should confirm that required inspections and tests are complete, the record is intelligible and any discrepancy has a documented outcome before authorising concealment.
- Confirm the correct room, stage and current drawing reference.
- Capture location, context and detail views for every scheduled element.
- Show junctions, route changes, access points and both ends of concealed runs.
- Keep originals at usable resolution and reject blurred or ambiguous files.
- Reference separate inspection, test, certificate and approval records.
- Record departures and their resolution instead of treating a photo as approval.
- Check that the owner can open the folder and understand the index before handover.
Know the limitations
A photograph records only a selected view at one moment. It may hide depth, material grade, workmanship behind the visible face, or the condition outside the frame. Wide-angle lenses distort distance; timestamps can be wrong; labels can be moved; and a neat picture does not demonstrate performance. Some concealed work needs measurements, test results, product data, serial numbers, marked-up drawings or specialist certification in addition to images. Privacy and security also matter: avoid personal documents, access credentials, faces and unrelated valuables, and agree who may receive the archive. Dubai Municipality's building-permit information confirms that technical inspection and completion processes exist for regulated work. A private project record must not be represented as satisfying any authority or building-management requirement unless the responsible party has confirmed that in writing for the actual scope.
The useful next step
Before the next area closes, hold a short record-planning review with the designer, project lead and relevant specialists. Start from the construction sequence, identify the questions a future owner or maintenance team might reasonably ask, and create the smallest complete capture schedule that answers them. Put the review deadline into the programme and make room release conditional on both the physical inspection and the agreed evidence being complete. At handover, provide an indexed, searchable record alongside current drawings, specifications, warranties, test results and operating information. That creates a coherent property file instead of a disconnected folder of site photographs.
Sources & further reading
Make this useful for your project.
A review of your property and priorities can turn general guidance into a defined brief.
Explore our servicesDiscuss your project